Basic Example
Create a directory
Let's start by creating a working directory:
Write tungsten_model.py
You can write the tungsten_model.py file for an image classification model as follows:
import json
from pathlib import Path
from typing import List

import torch
from torchvision.models.mobilenetv2 import MobileNet_V2_Weights, MobileNetV2

from tungstenkit import BaseIO, Field, Image, define_model

LABELS = json.loads(Path("imagenet_labels.json").read_text())


class Input(BaseIO):
    image: Image


class Output(BaseIO):
    score: float
    label: str = Field(choices=LABELS)


@define_model(
    input=Input,
    output=Output,
    gpu=False,
    python_packages=["torch", "torchvision"],
    batch_size=16,
)
class Model:
    def setup(self):
        """Load the model into memory"""

        self.model = MobileNetV2()
        weights = torch.load("mobilenetv2_weights.pth")
        self.model.load_state_dict(weights)
        self.model.eval()

    def predict(self, inputs: List[Input]) -> List[Output]:
        """Run a batch prediction"""

        print("Preprocessing")
        transform = MobileNet_V2_Weights.IMAGENET1K_V2.transforms()
        pil_images = [inp.image.to_pil_image() for inp in inputs]
        tensors = [transform(img) for img in pil_images]
        input_tensor = torch.stack(tensors, dim=0)

        print("Inferencing")
        softmax = self.model(input_tensor).softmax(1)

        print("Postprocessing")
        scores, class_indices = torch.max(softmax, 1)
        pred_labels = [LABELS[idx.item()] for idx in class_indices]
        return [
            Output(score=score.item(), label=label) for score, label in zip(scores, pred_labels)
        ]
Download the required files
Before building, you should prepare the required files.
As you can see above, two files are needed: imagenet_labels.json and mobilenetv2_weights.pth.
Download these files via the script below:
curl -o imagenet_labels.json -X GET https://raw.githubusercontent.com/anishathalye/imagenet-simple-labels/master/imagenet-simple-labels.json && \
curl -o mobilenetv2_weights.pth https://download.pytorch.org/models/mobilenet_v2-7ebf99e0.pth
Build a Tungsten model
Now everything is ready. Let's start building a Tungsten model:
$ tungsten build -n tungsten-example

✅ Successfully built tungsten model: 'tungsten-example:e3a5de5616a743fe9021e2dcfe1cd19a' (also tagged as 'tungsten-example:latest')
$ tungsten models

Repository        Tag                               Description                 Model Class           Created              Docker Image ID
----------------  --------------------------------  --------------------------  --------------------  -------------------  -----------------
tungsten-example  latest                            Image classification model  tungsten_model:Model  2023-04-26 05:23:58  830eb82f0fcd
tungsten-example  e3a5de5616a743fe9021e2dcfe1cd19a  Image classification model  tungsten_model:Model  2023-04-26 05:23:58  830eb82f0fcd
Run it
Now, you can run the model in your local machine in multiple ways.
Option 1: Interactive web demo
Visit http://localhost:8080 to check: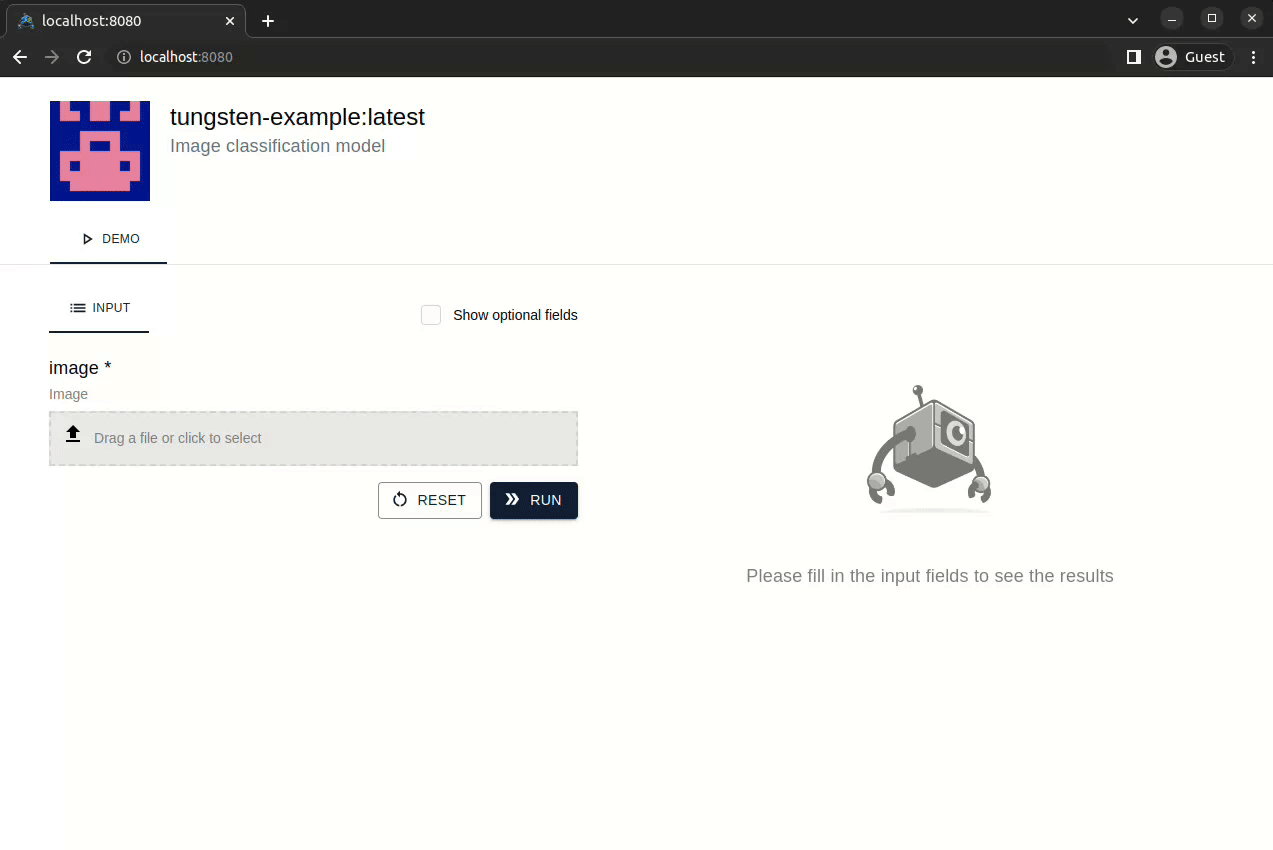
Option 2: REST API
Start the server:
$ tungsten serve tungsten-example -p 3000

INFO:     Setting up the model
INFO:     Getting inputs from the input queue
INFO:     Starting the prediction service
INFO:     Started server process [1]
INFO:     Waiting for application startup.
INFO:     Application startup complete.
INFO:     Uvicorn running on http://0.0.0.0:3000 (Press CTRL+C to quit)
Send a prediction request with a JSON payload:
$ curl -X 'POST' 'http://localhost:3000/predictions' \
  -H 'Accept: application/json' \
  -H 'Content-Type: application/json' \
  -d '[{"image": "https://picsum.photos/200.jpg"}]'

{
    "prediction_id": "39c9eb6b"
}
Get the result:
$ curl -X 'GET' 'http://localhost:3000/predictions/39c9eb6b' \
  -H 'Accept: application/json'

{
    "outputs": [{"scale": 0.12483298, "label": "dog"}],
    "status": "success"
}
Also, you can find a Swagger documentation at http://localhost:3000/docs.
Option 3: Make a prediction (using CLI)
$ tungsten predict tungsten-example -i image="https://picsum.photos/200.jpg"

{
    "scale": 0.12483298, "label": "dog"
}